
Do not flash this ROM via fastboot, use TWRP instead (Though you’ll need fastboot in some steps)
To get started, make a back-up of all your device data since everything will be wiped
Now follow the instructions carefully:
- Download the ROM on your PC from here
- There are 3 variants of OmniROM
- MicroG version: Includes MicroG package pre installed which a FOSS alternative to Google Play services ( This does not include Google Apps) to learn more about MicroG , Click here
- Vanilla Version: This is a clean ROM with no pre installed apps, No Gapps, nothing, you’ll have to flash either gapps or microg manually, or none if you prefer
- GApps Included: This is the normal GApps version with Google Play services and usual Google Apps
- All of the variants have same flashing method
- Download and copy the ROM in your PC in the platform-tools folder
- Now connect your device to PC and Open Powershell/CMD in platform-tools by clicking Shift+Right Click, connect your device and type adb devices to make sure your device is identified
- Now type adb reboot-fastboot
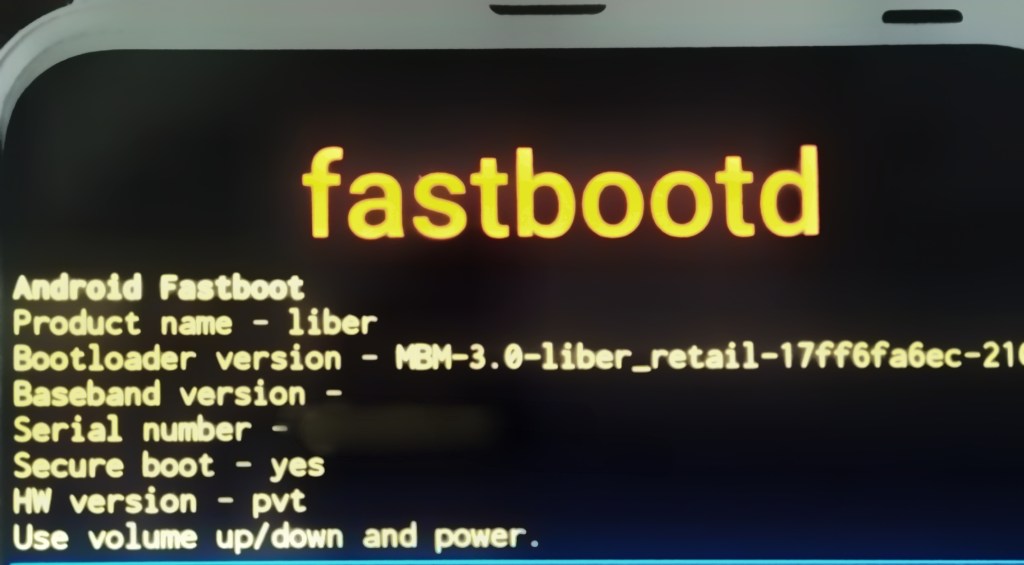
- Now type fastboot -w
- Now enter: fastboot getvar all
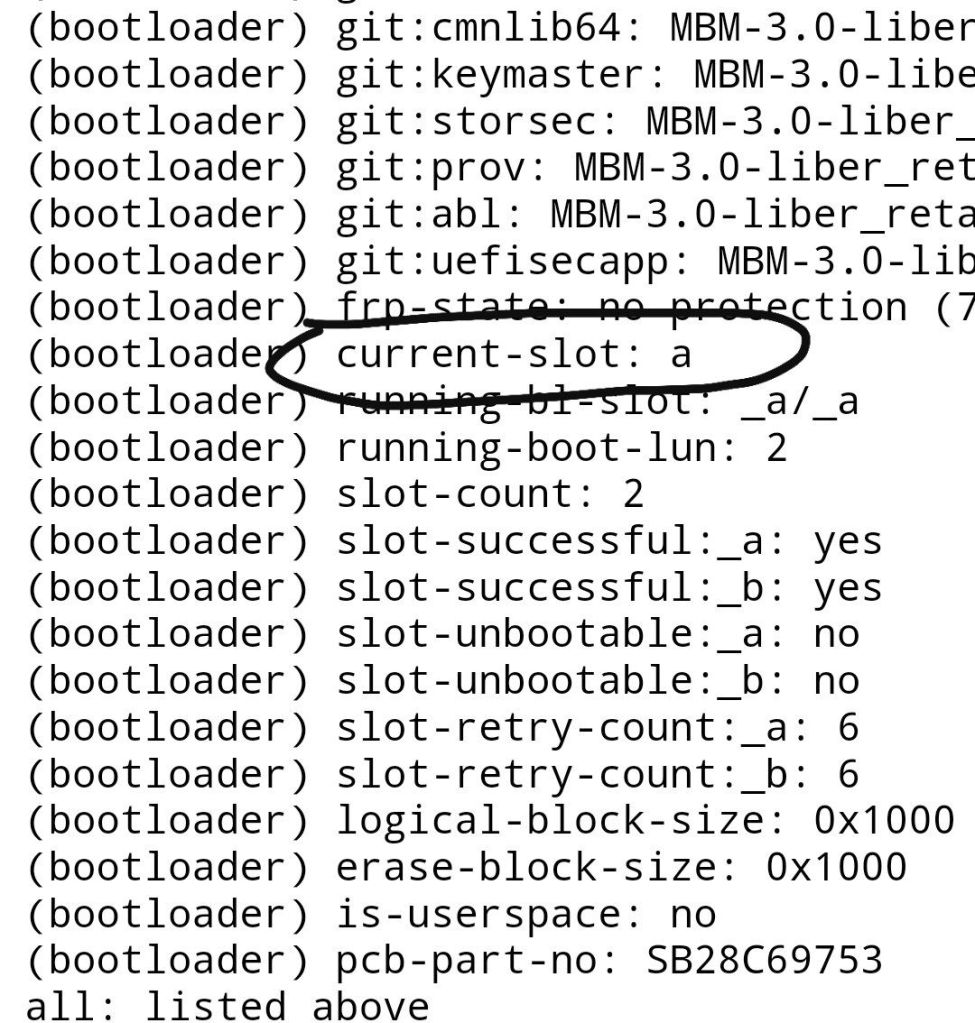
- You’ll find the Current active slot here (in the image, active slot is a)
- There are two slots a and b, to flash this ROM you’ll have to switch to inactive slot using the following command:
- fastboot –set-active=a if your active slot is b
- fastboot –set-active=b if your active slot is a
- Now you’ll have to boot TWRP custom recovery just temporarily (Do not Flash TWRP permanently)
- To download TWRP custom recovery, Click here
- Copy and rename the file to twrp.img in the platform-tools folder
- Now enter: fastboot reboot bootloader
- Now type fastboot devices to check of your phone is detected
- Then, fastboot boot twrp.img
- This will boot TWRP temporarily
- If you have SD Card, copy the ROM and insert SD card into the phone
- If you don’t have one, just see if you can copy it directly to the phone
- If you are unable to copy directly, or you don’t have SD Card, you can try the below method:
Type :
adb push **ROM filename** /sdcard/
- Now go to your device and Tap on install
- Locate the ROM and Continue to flash
- After the flashing completes, go to reboot section in TWRP and click on fastboot
- Enter: fastboot –set-active=b if you set it to a previously
- Enter: fastboot –set-active=a if you set it to b previously
- Then, fastboot reboot
After it boots, consider booting TWRP again and Flash Kensur Kernel for better battery backup, increased performance and faster USB charging speed, for more info, CLICK HERE
You’re all done, enjoy OmniROM R

One thought on “OmniROM R (Android 11) Flashing Instructions”